In this tutorial, we will learn about one of the core components of Java i.e the Java Runtime Environment. We will cover its basic structure and understand why it is needed in Java. This tutorial will also cover the installation of JRE into your local computer.
Any software that is executed needs an environment on which it can rest and operate. The primary environment in a computer is its operating system (OS). All the software generally runs on the OS. It is not efficient to always run everything on the OS directly.
Specifically for Java programs, there is a special environment that can run Java programs virtually on an OS, it is called the Java Runtime Environment (JRE). The Java Virtual Machine (JVM) which is the core part of Java responsible for executing Java programs also sits on the JRE. We can say JVM is a subset of JRE.
The JRE provides a virtual platform on which the JVM and other Java libraries rest on. These components of JRE are virtually isolated and used for executing Java programs. A system that doesn’t have JRE cannot run Java programs. We have to install JVM for executing Java programs and applications. Also, know that the JDK or Java Development Kit already has JRE within it. A system that has JDK installed doesn’t have to install JRE separately.

Executing a Java program is easy. But the underlying architecture of the JRE defines what is needed for it to be executed. The JRE contains all the libraries and core classes that are needed to execute a Java program. Whenever we execute a Java program, the JRE combines the needed classes and other libraries with the JVM that is required for that program. The JVM then loads these classes and libraries and creates a virtual environment to execute the code.
JDK is a development kit that has all the tools and utilities that can be used to create Java programs and applications. These tools are basically for developers for developing and debugging purposes. If you are a developer then you need JDK to develop Java applications.
But if you are a user who just needs to use/execute Java applications that are already built by a developer, then you just have to install JRE in your computer which only includes components that are required to execute Java applications. This will prevent you from installing unnecessary tools that are developer specific and not required.
The installation of JRE is similar to installing JDK. In this tutorial, we will be covering the Windows operating system.
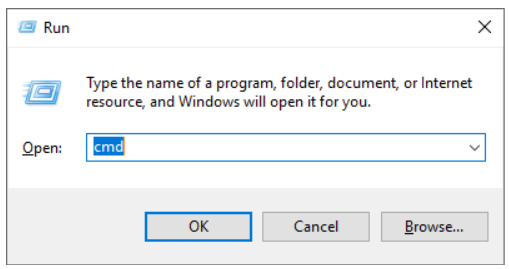
To confirm whether you have Java installed on your computer or not, follow these steps-


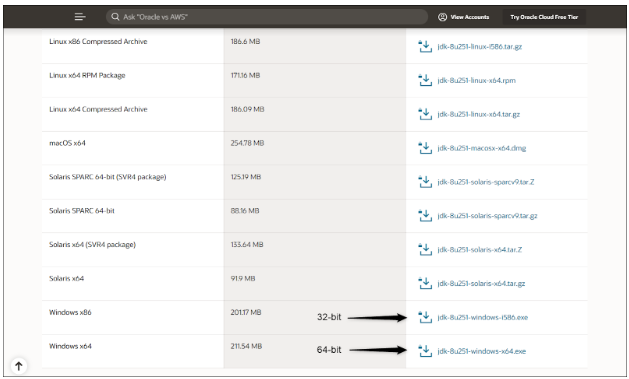
Knowing your operating system type is important for installing Java. It comes for both 32-bit and 64-bit operating systems. If you know the type of operating system you have to install Java then you can move to the next step. If you don’t know your system type or having trouble finding it out then follow these simple steps:


After the completion of the installation, just repeat Step 0 to check whether the installation is successful.
Congratulations! You can now run Java programs and applications on your computer